
Post Project Photos
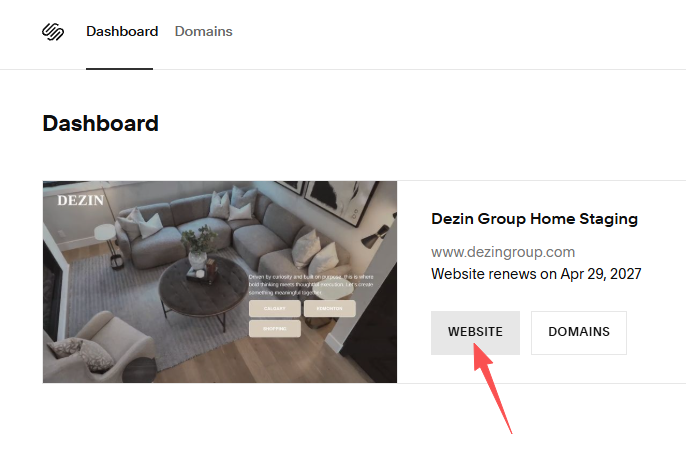
1.Click on Website

2. Click on “Page” from the left menu
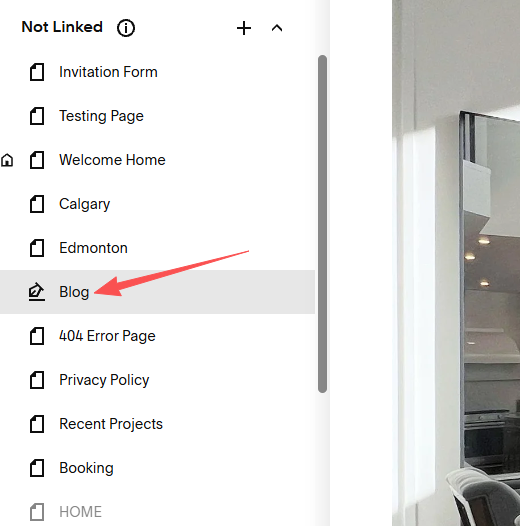
3. Click on “Blog” from the left menu
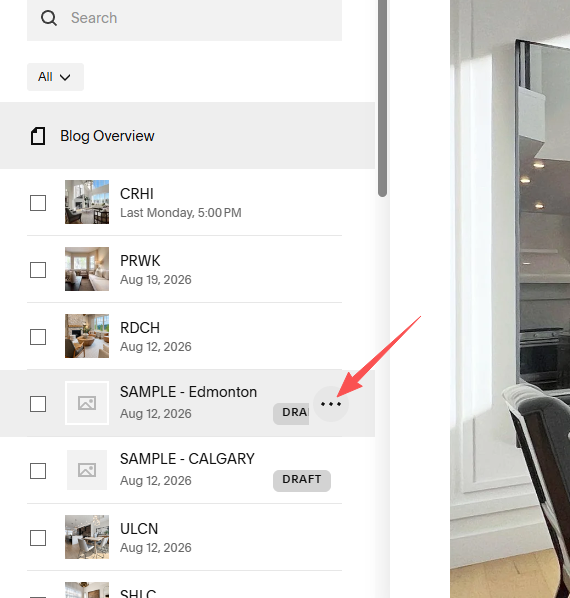
4. Locate the post named “SAMPLE - XXX”.
Choose which location you’re going to upload the photos for. Click on the three-dot icon.
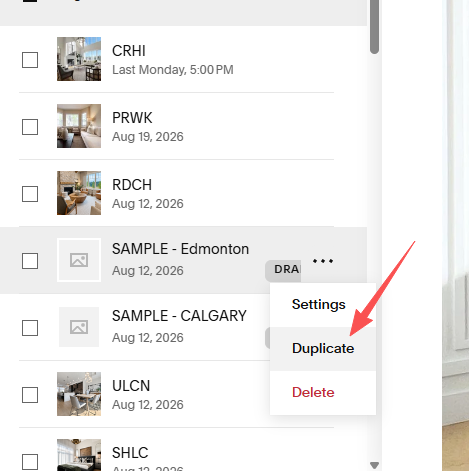
5. Click on “Duplicate”
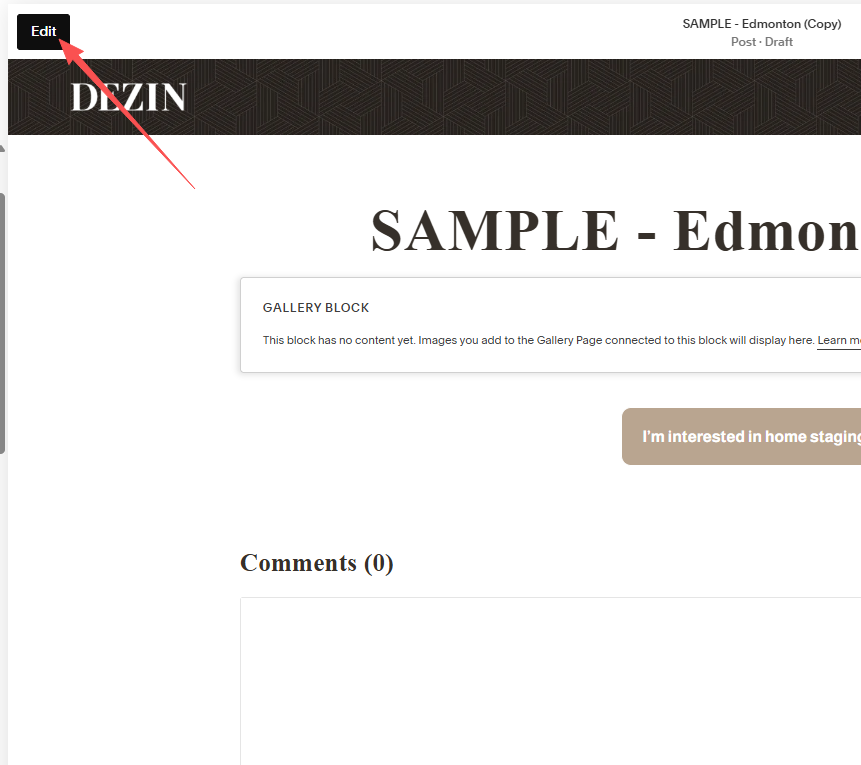
6. When the new post opened up, click on the “Edit” button at the top left corner.
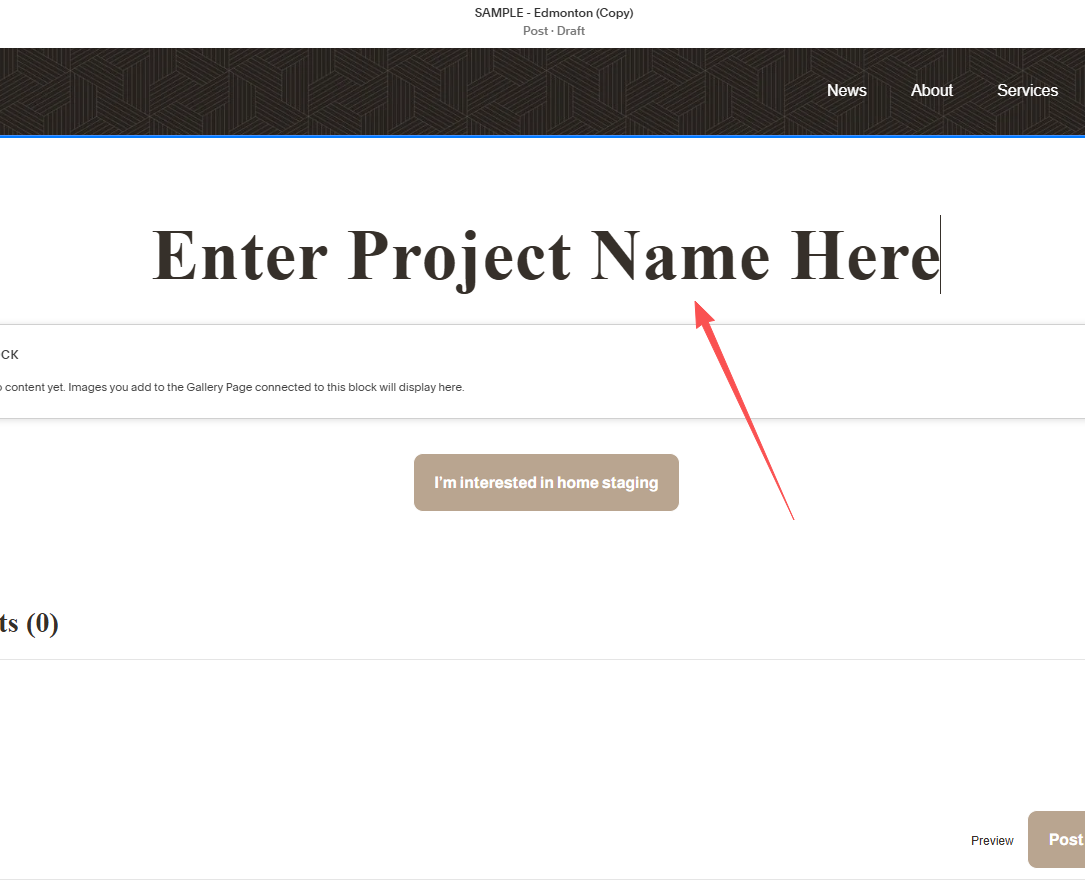
7. Type the name of the project.
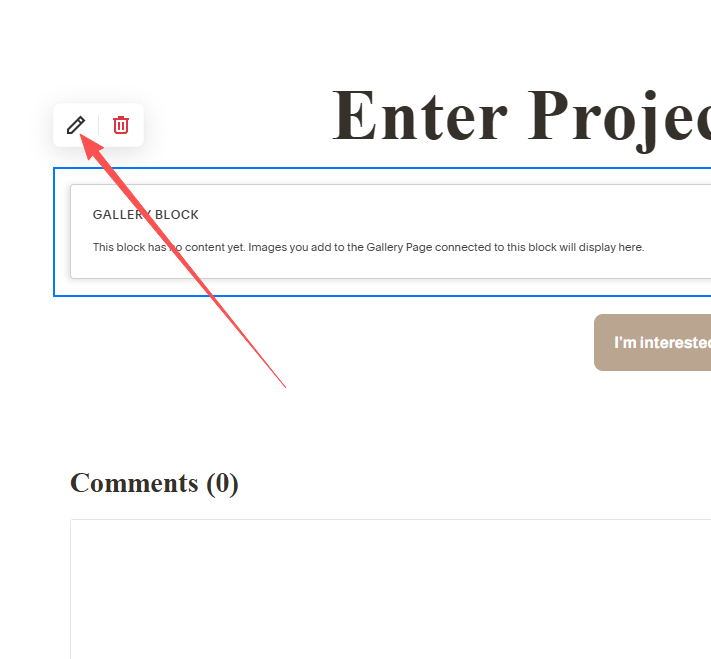
8. Hover on the “GALLERY BLOCK” and click on the pencil icon.
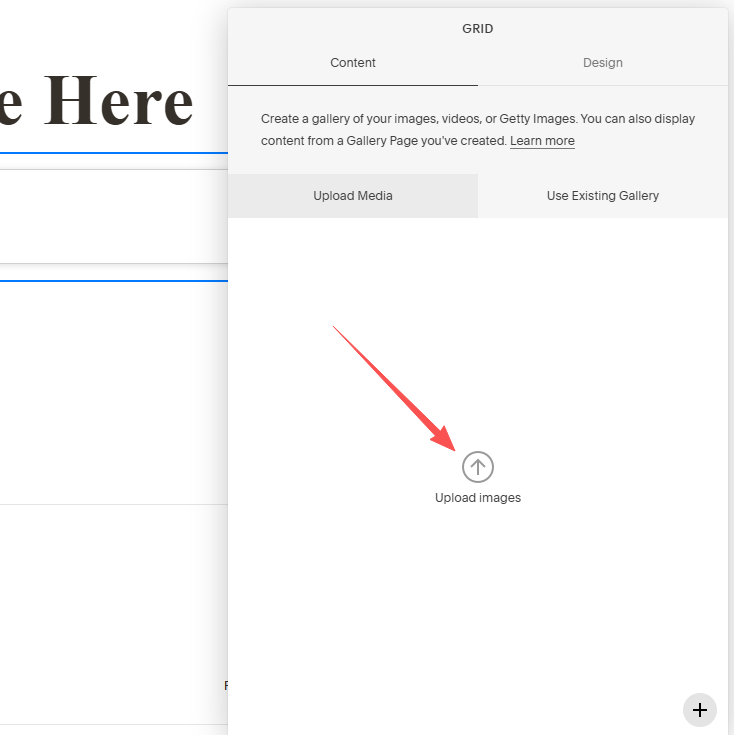
9. Click on the “Upload images” to upload photos.
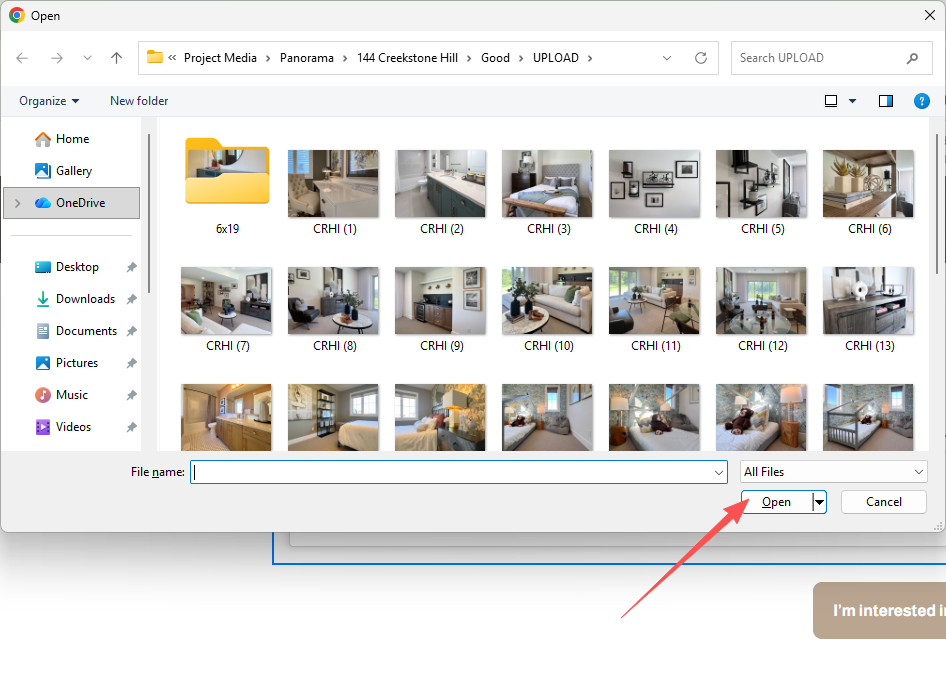
10. Choose multiple files and then click on “Open”.
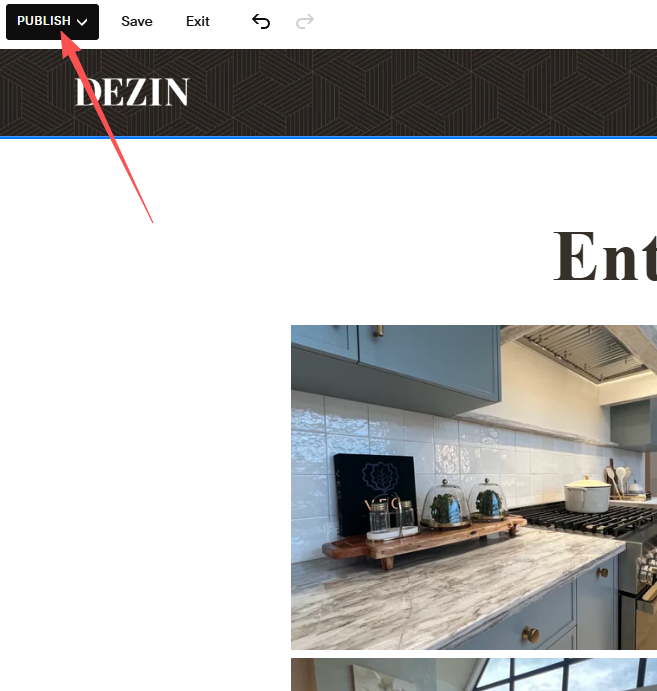
11. Click on “PUBLISH” to make it visible to public.
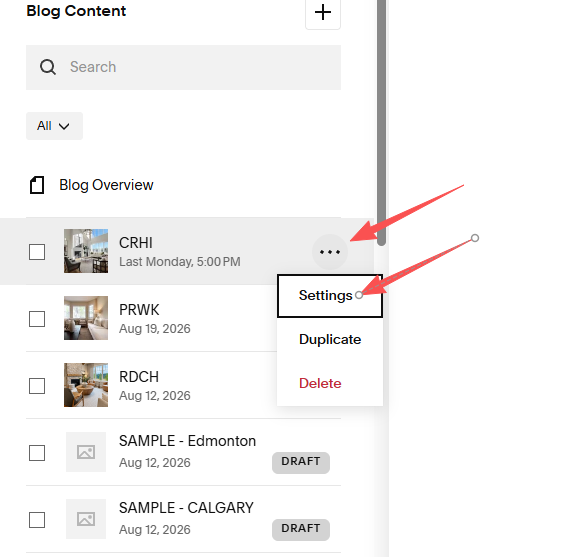
12. After exiting the “Edit Mode”. Locate your post on the left menu. Click on the three-dot button and then click on “Settings”
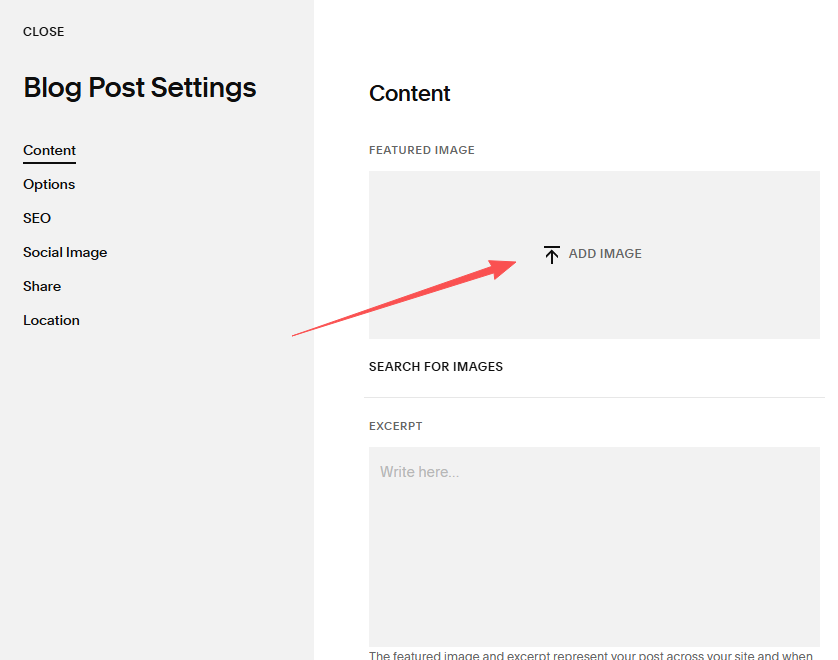
13. Add a feature image for your post.
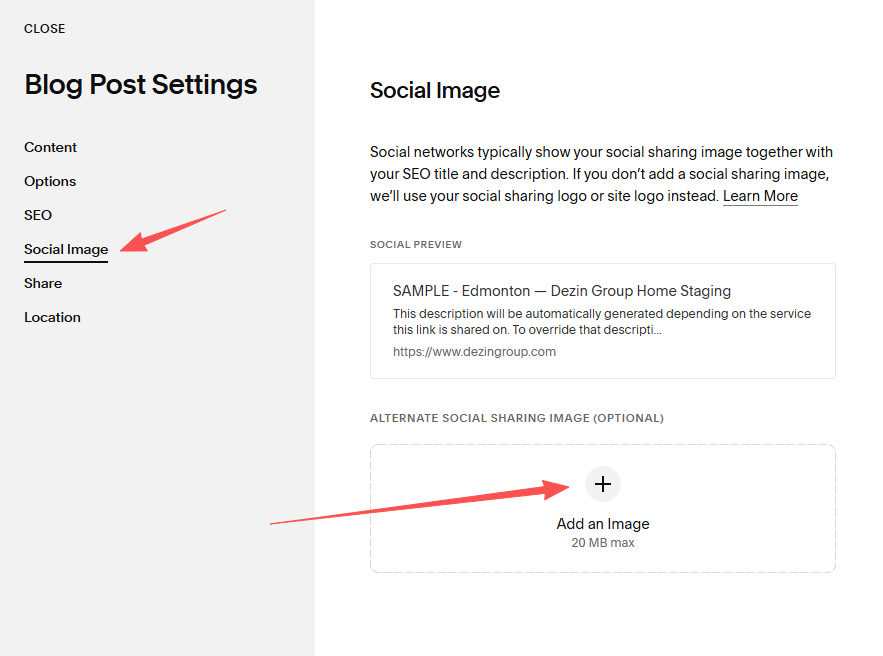
14. Click on the “Social Image” tag and add an image. Can be the image as same as the feature one.